

It is not all that easy to manage precise image placement in a post. Recall that the images have to fit in the theme width assigned to posts. Also, there are three versions of the theme based on viewing device, and images will shift position when constrained by viewing space. To get a sense of this, view your post in a non-maximized browser window and adjust the browser window width.

Positioned with “Float Left”
As a starting strategy, simply insert all the images one after another. Select each image in turn and select the far left emblem for positioning on all of them. The example at left illustrates positioning. This selection assigns “Float Left” positioning, which does two things: It pushes the image to the left of the available space, and it allows other images or text to wrap to the right.
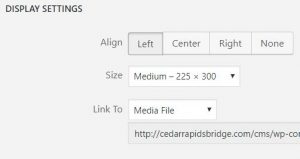
Link Setting (Although illustrating left alignment, this image is centered.)
While you are at it, if you would like to have a slideshow, you have to modify every image involved. Click the pencil icon and change the “Link To” setting to “Media File”. All the images with this setting will participate in the slideshow. You needn’t set the link address; it is automatic.
Here is a small mystery that occurred in this post, which was begun by cloning another existing post. Evidently, the two new illustrations above automatically inherited the “link to media file” setting of the four people images below. It was necessary to remove this property in order to take them out of the slideshow. This might not have occurred if this post had been created from scratch. Addendum: When I later added the “Clear-Float Button” image, it inherited the same “link to media file” property, which I did not bother to remove. This suggests to me that, if you want a slideshow, you should add the appropriate property to the first image you insert before adding the other images.
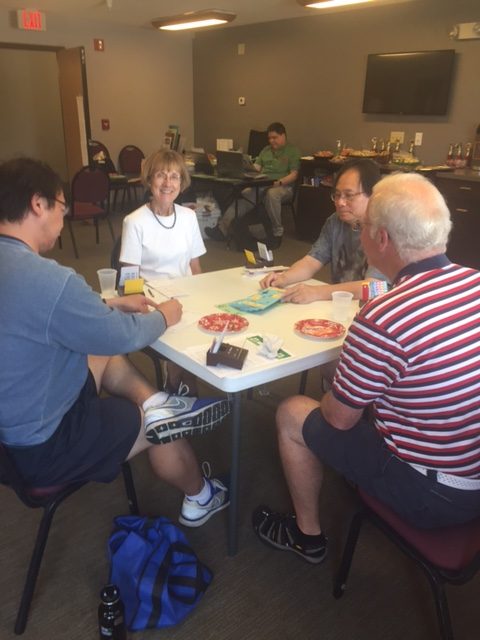
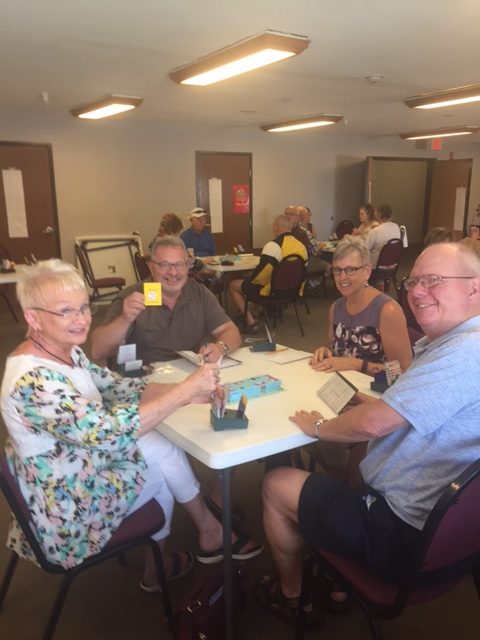
Click any player image below for an example of a slide show. These four images are floated left and are linked to “Media File,” as described above.
If you are creating a long, narrative post with interspersed images, you might consider scattering the images and using both “float left” and “float right” positioning for variety. See the red heart images further below. It is recommended that these interspersed images are kept small, say about 170 pixels wide.
As originally written this article did not address a frequent problem with using a group of successive floated images. That is, text tends to sneak into the spaces between pictures. This makes sense because floating an image permits other objects, including text, to wrap around it. The problem is illustrated below.

Winners Paul and Nancy Klein in second session Saturday.

These four, Kathy Breen, Lu, Sam Shen and Mark Gifford won both team games on Sunday.
Lin and Mark Settle with Sam and Lu.
Dick Lamb with out of town guests.
Here is some text above clear-float.
Here is some text below clear-float.
One solution is to remove the floated positioning by centering the last image in a collection like the four people images above. This tends to leave a lot of wasted white space. The text will then begin below the centered image. This works because “floating” is kind of a sticky property, and something has to happen to remove it. As an example, the image of the “Link Setting…” is centered, and text does not, therefore, wrap around it.

Floated Left
Floated Right
A better solution now is offered. A button called “Clear Float” has been added to the editor. When you are positioned at the place where you intend to enter text, click the button and it will break the tendency to wrap around images. The Dick Lamb image above is floated left. This caused subsequent text to float also, wrapping around the image, but the Clear Float button was used to end the text floating after only one sentence.
Suppose you purposely float an image to the left of some text, and the text looks good wrapping around the image. The only thing that bothers you is that you start a new paragraph and one sentence begins beside the image and the rest of the paragraph resumes below it. You think this is ugly, so you use Clear Float before the new paragraph to force it to begin below the image instead of beside it.
 The heart images above actually were entered one after another and then came the text about “A better solution…” That text wedged itself between the two floated images even though it came after them. Now, this paragraph illustrates a slightly different scenario. The “player” image is floated left, then some text is added, then a player image is floated right, then some more text is added. Finally, after this sentence, is a clear-float.
Clear-Float Button
A different problem I frequently encounter is trying to insert text after an image that is at the end of the page. Beware the small blue mark where you place the cursor after the image. This means you are about to create a link. Use the right arrow on your keyboard to get past the blue mark. If you get desperate, switch to the Text editor and type a few letters at the bottom of the page and then switch back to the Visual editor before you mess something up.
One way to avoid the issue is to enter some text — perhaps a few spaces — as a place holder for more text yet to come. Do this before inserting the image you are adding. Insert it before those spaces.
In summary, as a simple beginning strategy, insert all the images you want one after another. Float them all left. Position the cursor after all the images preparatory to inserting some text. Click the Clear Float button, and then start typing your text.